Add Feed Regulator Spring To a Mini Walking Foot Machine
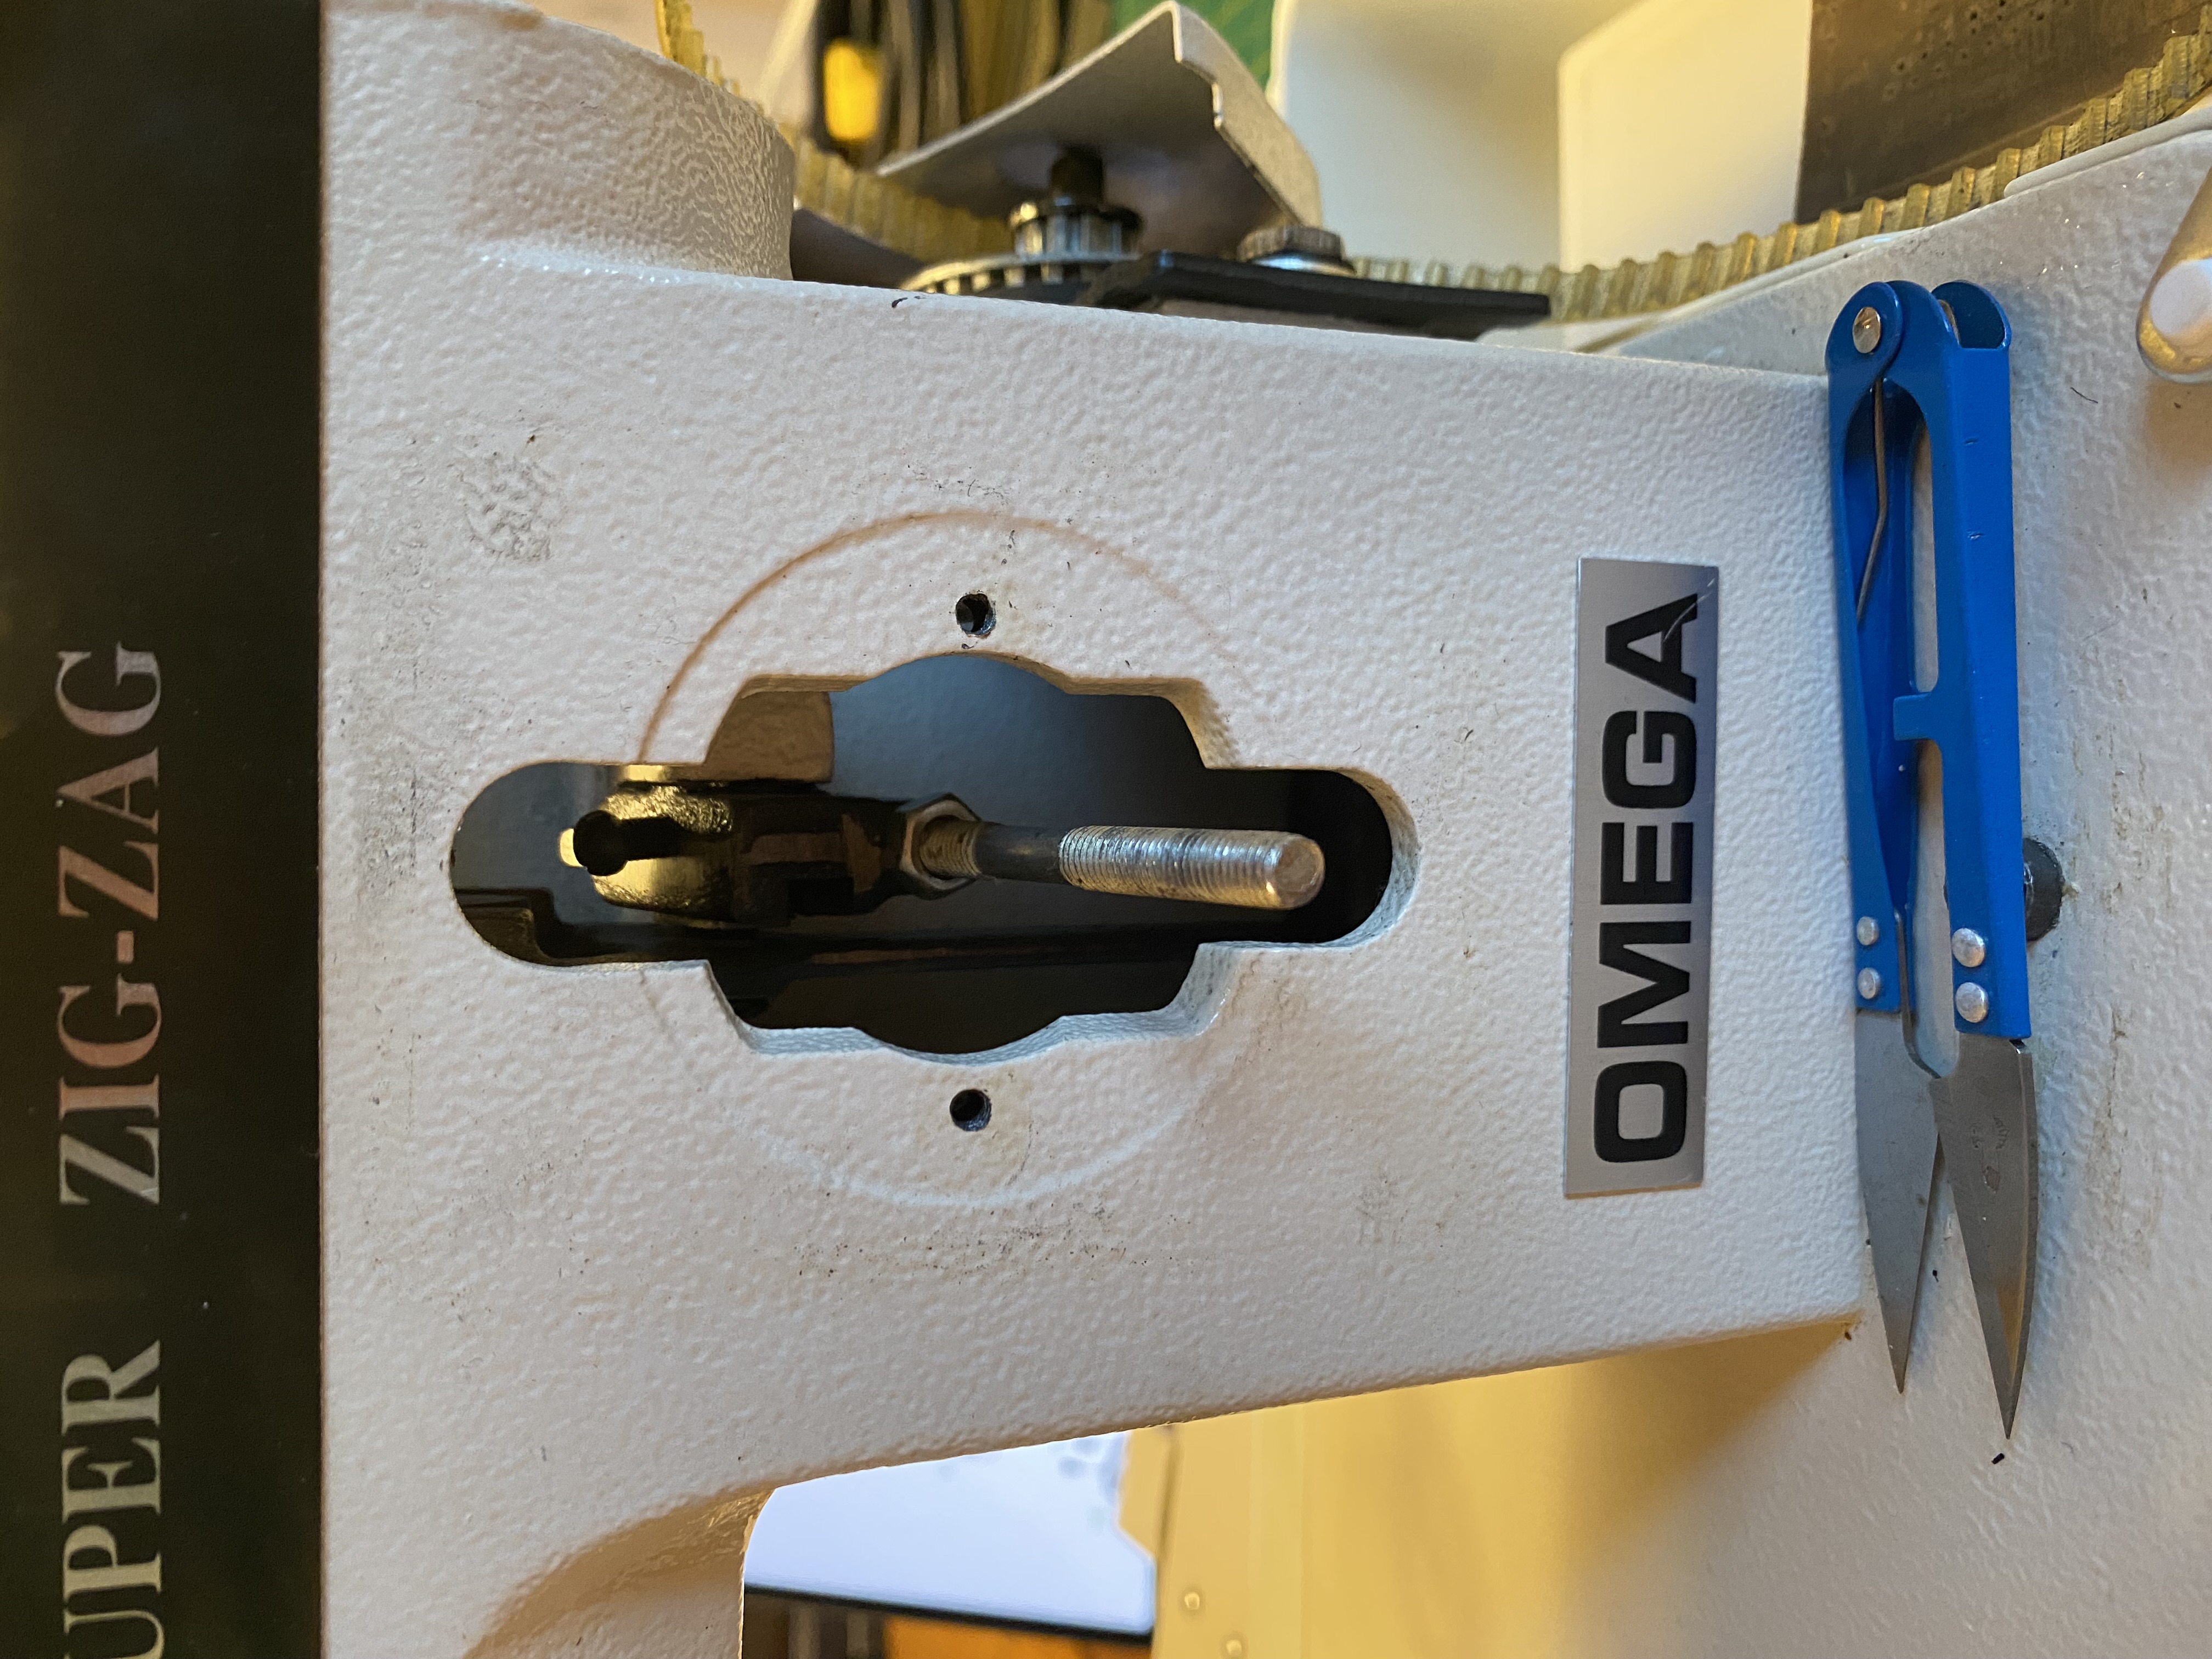
Please get familiar with the diagram of the Sailrite machine before attempting to take things a part
Why Add a Feed Regulator Spring?
A feed regulator spring will be constantly putting upwards pressure on the feed regulator lever. This means it will always be in the forward position. When going into reverse, you need to simply let go of the lever and it will spring back up to the forward position. This makes backstitching very easy.
Installing the Feed Regulator Spring
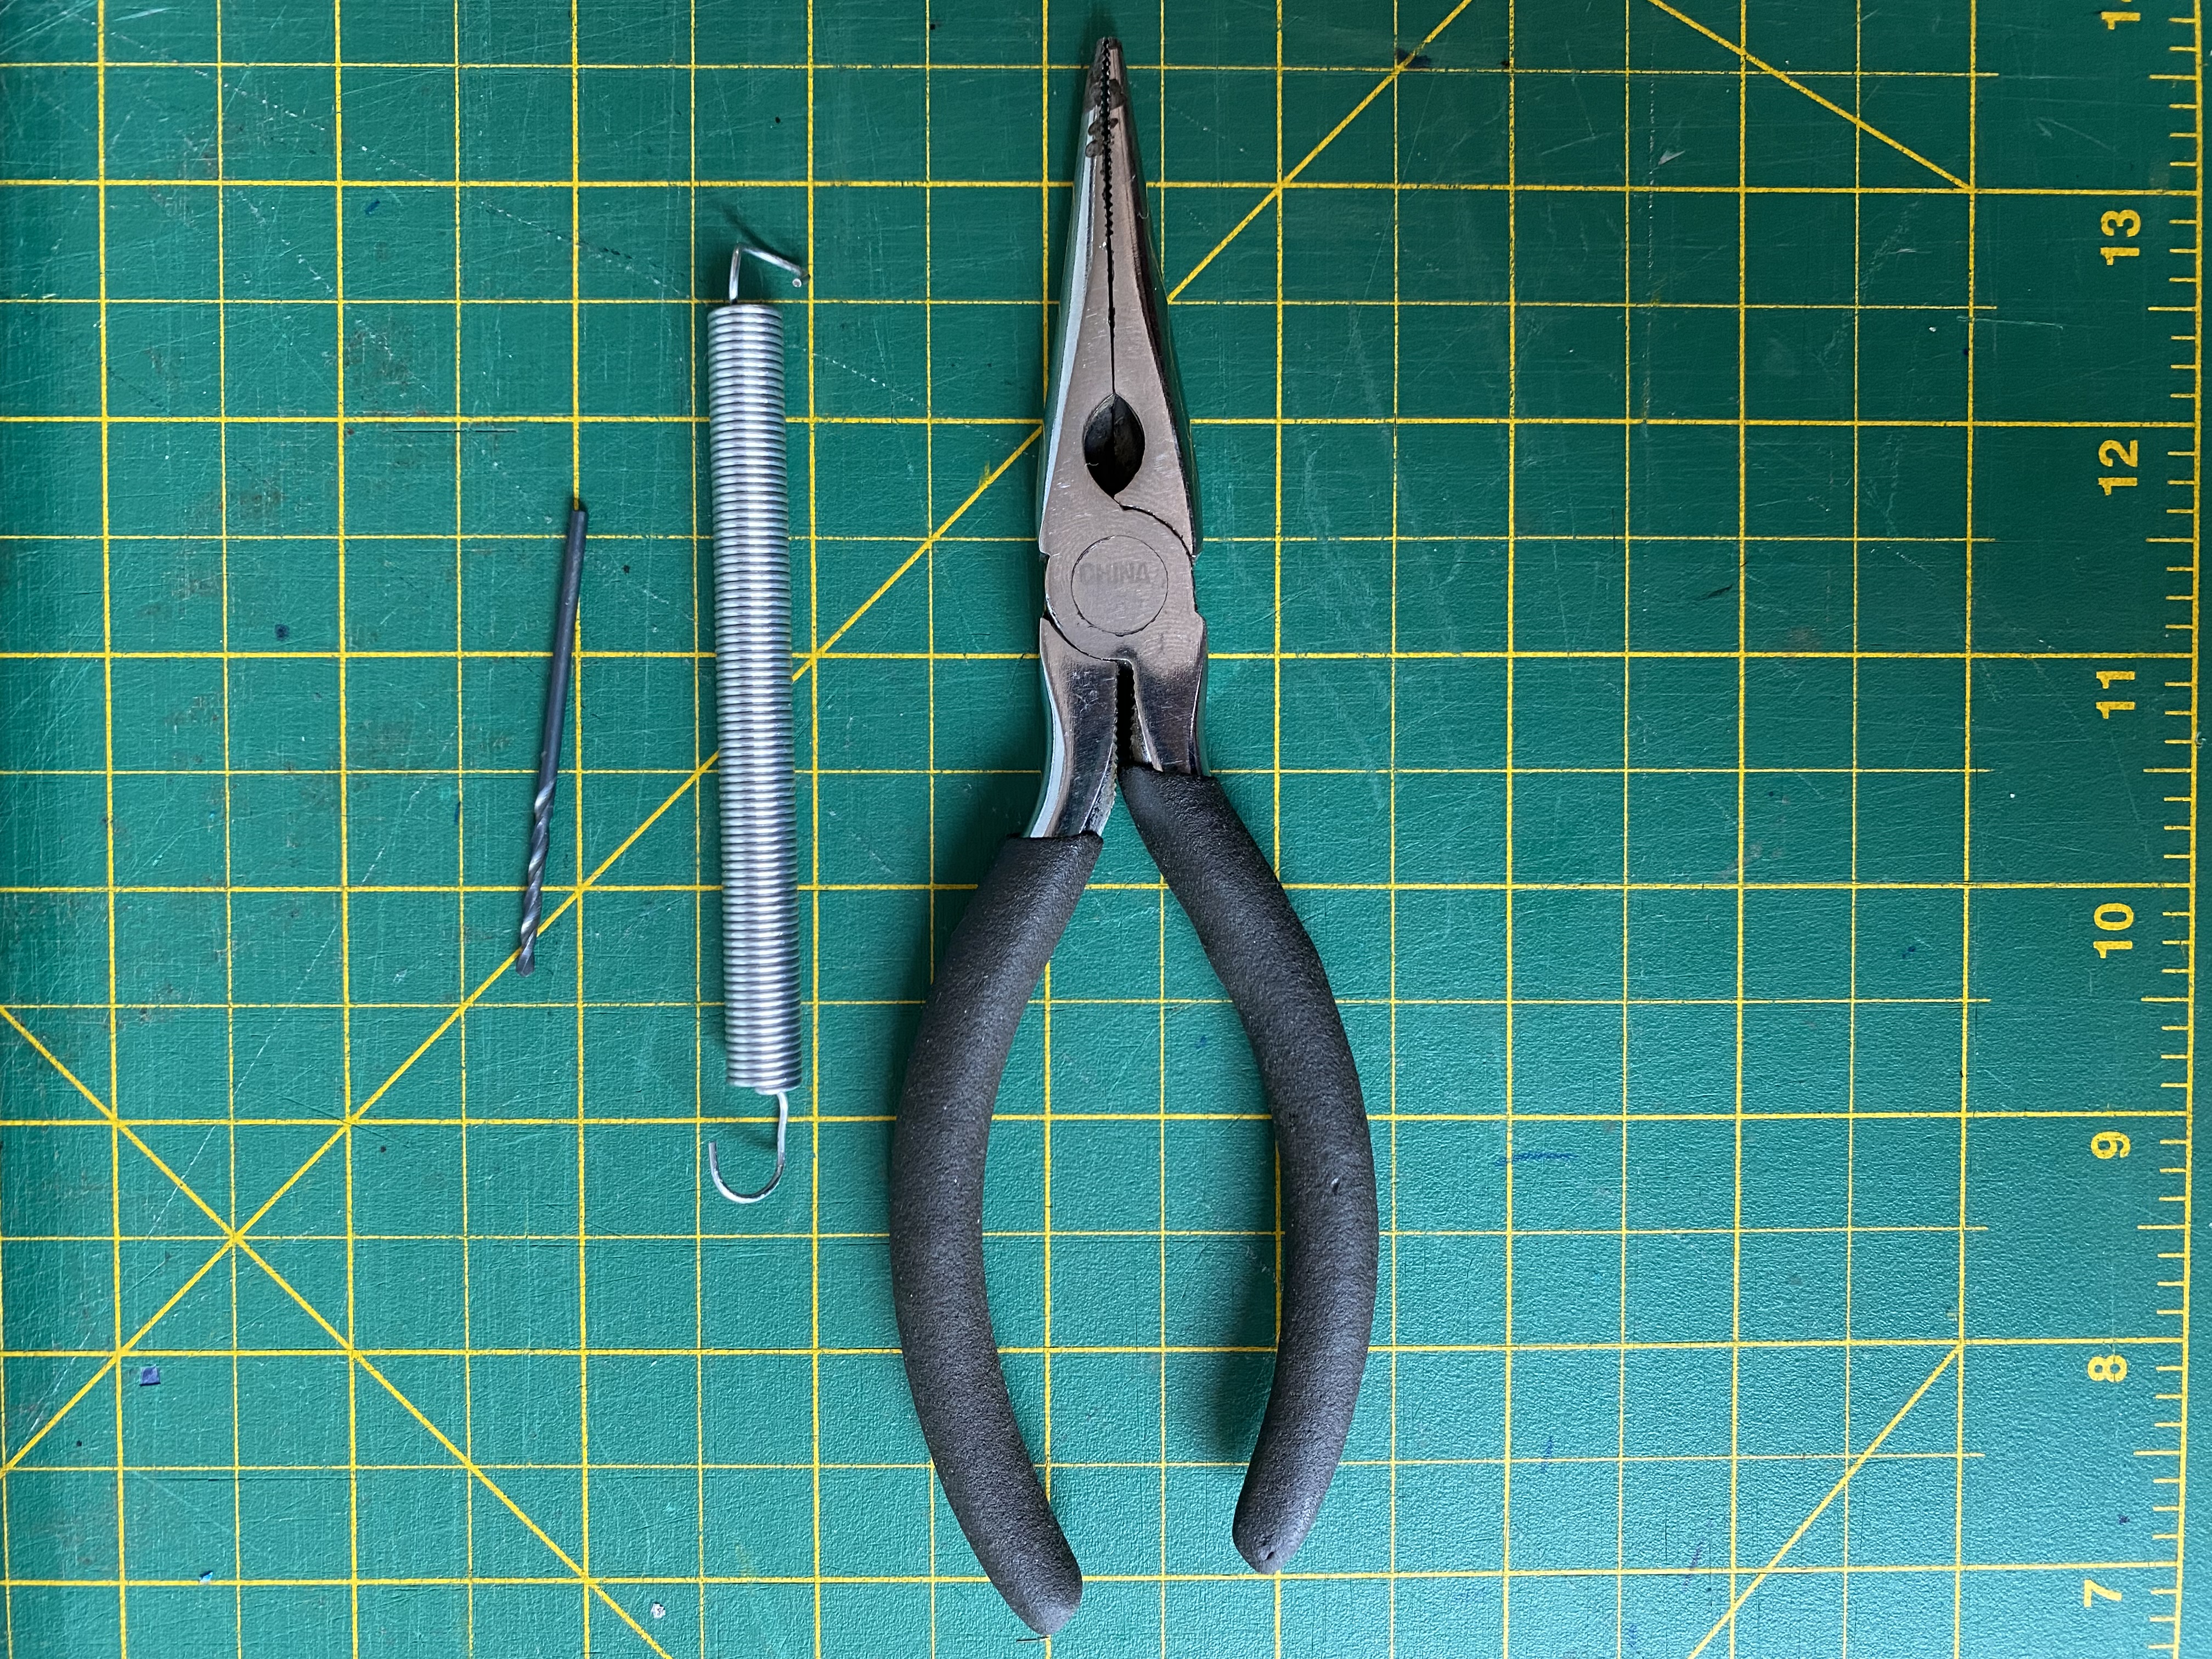
Bill of Materials
-
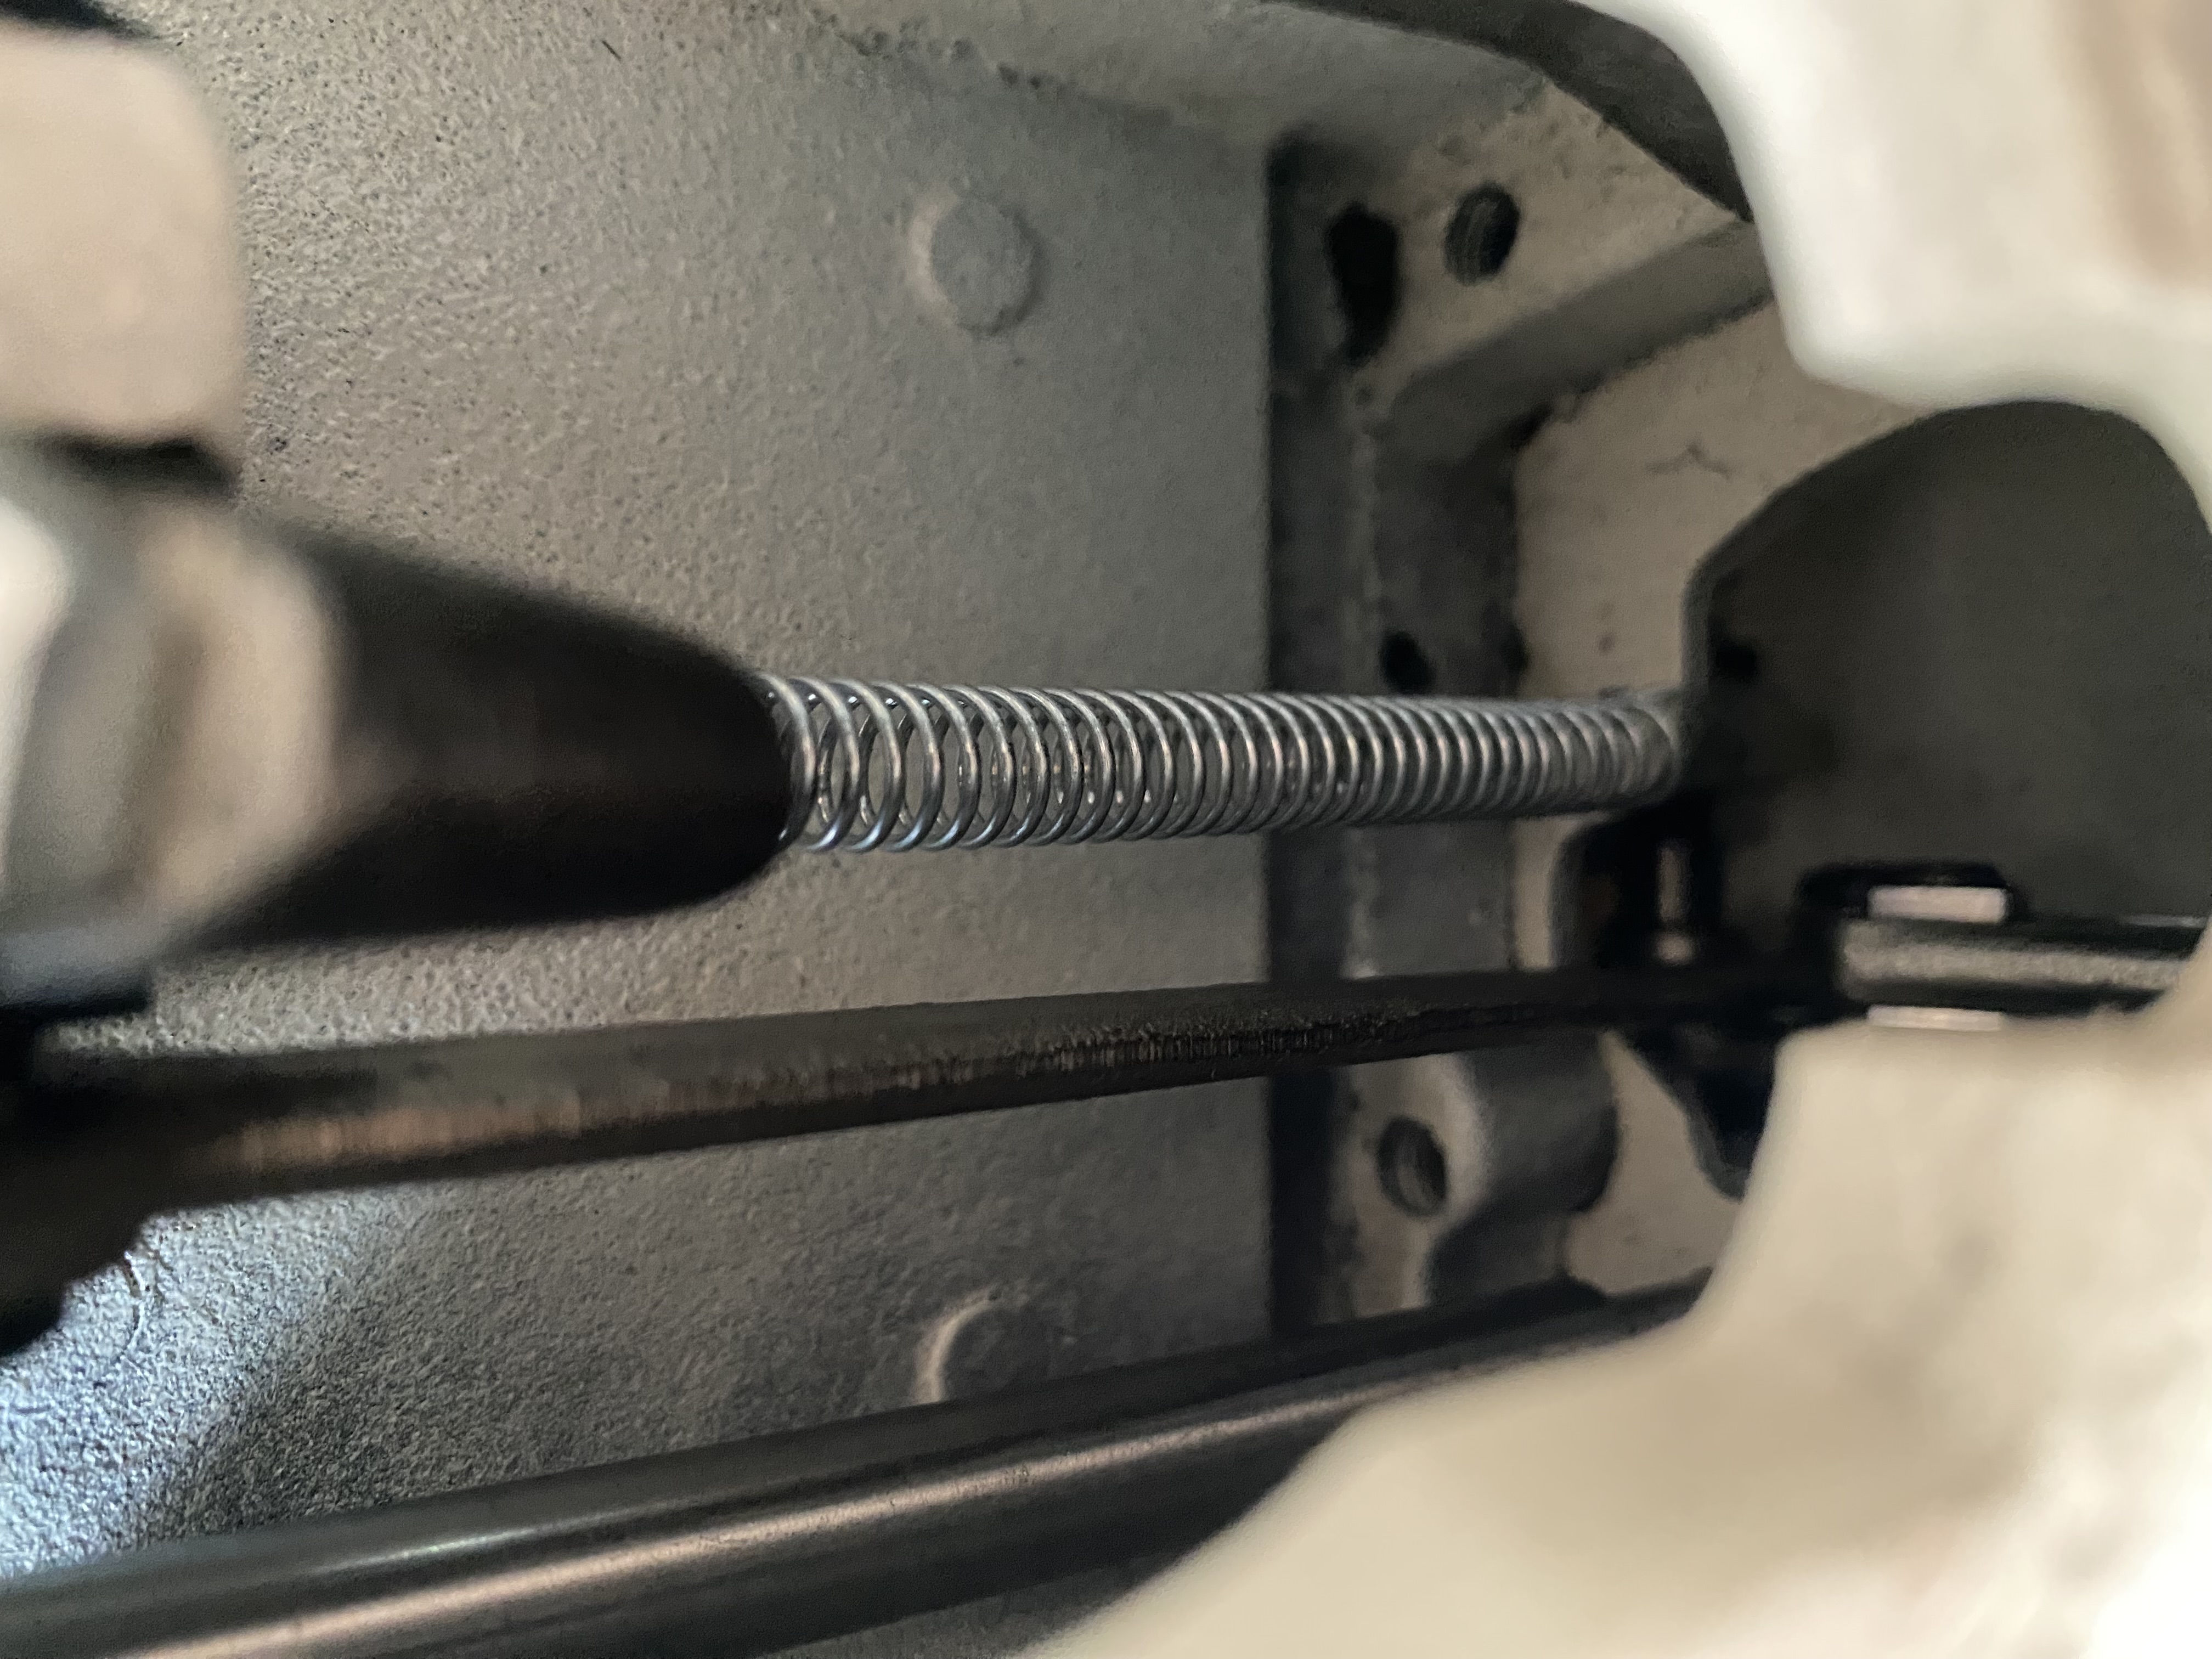
Spring - 7mm x 95mm (cut down to about 50mm)
-
Drill with a small bit
-
Pliers
-
Screwdriver
Step-by-Step Instructions
-
Remove the top cover
- Remove the screws on the top of the machine to be able to remove the top cover
-
Remove the front plate
- Remove the screws on the front plate

- Remove the screws on the front plate
-
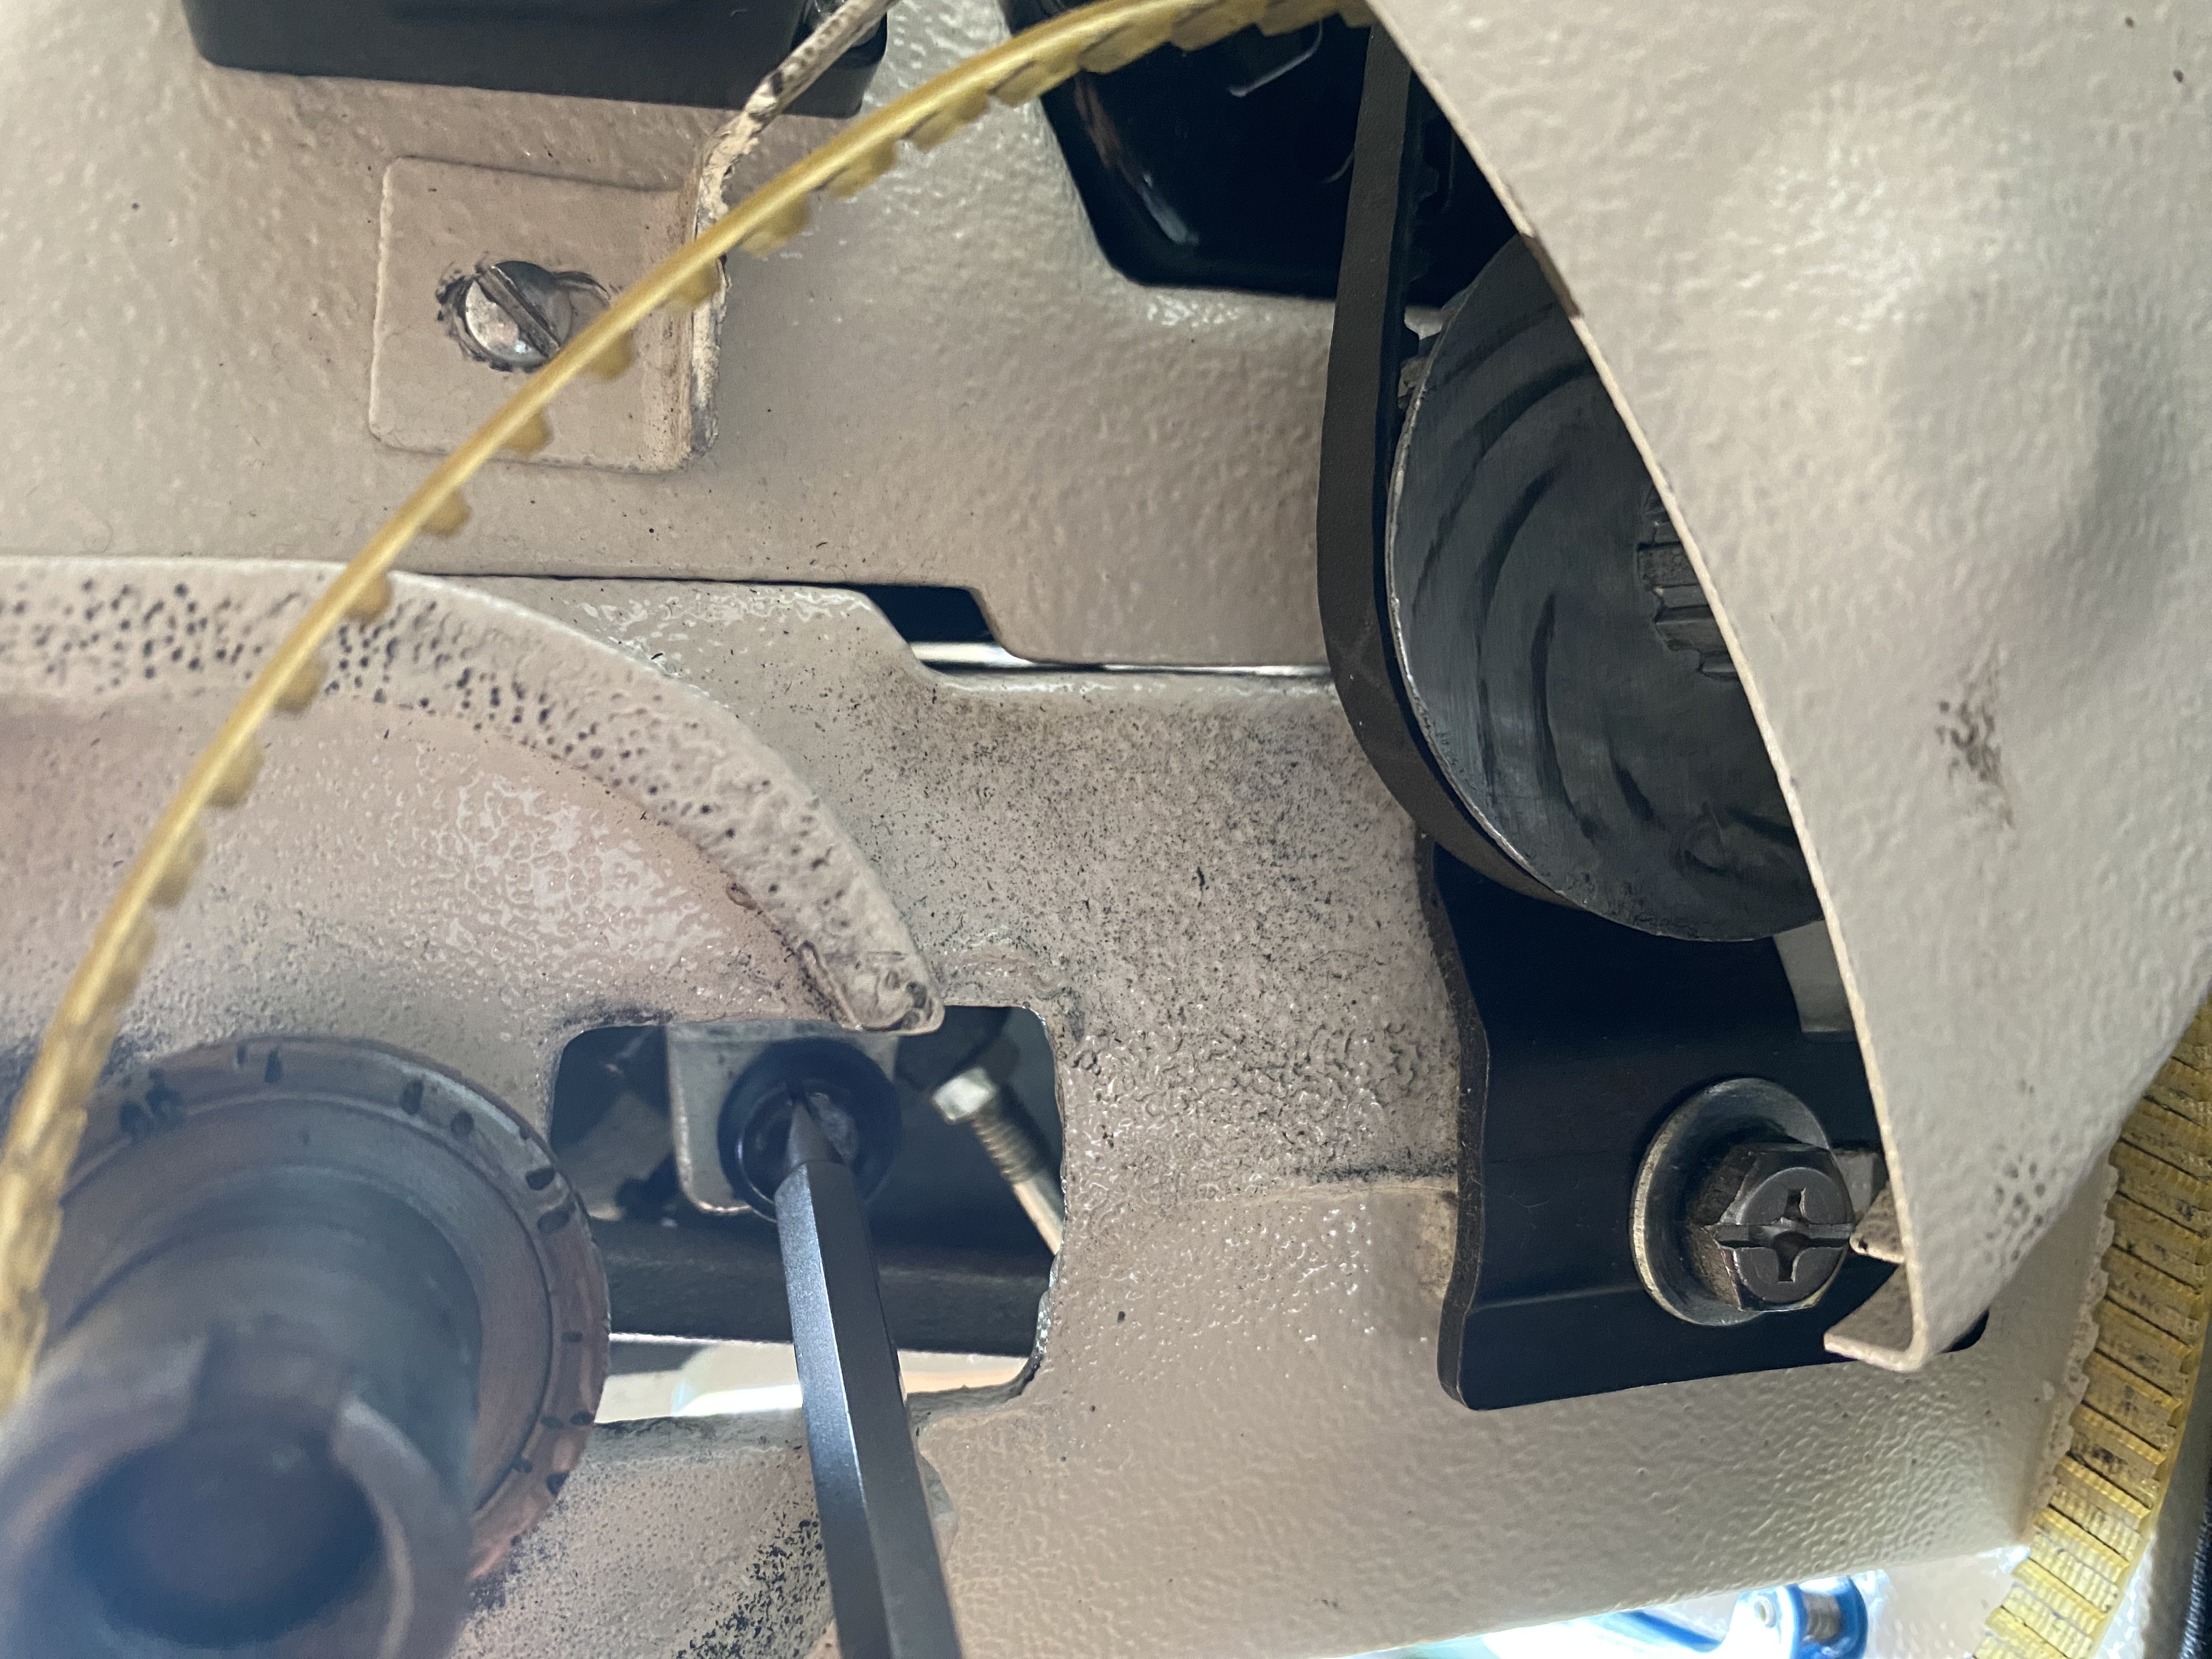
Remove the balance wheel
- Remove the balance wheel but unscrewing the nut (a small screw needs to be removed to allow you to unscrew the bigger nut)
-
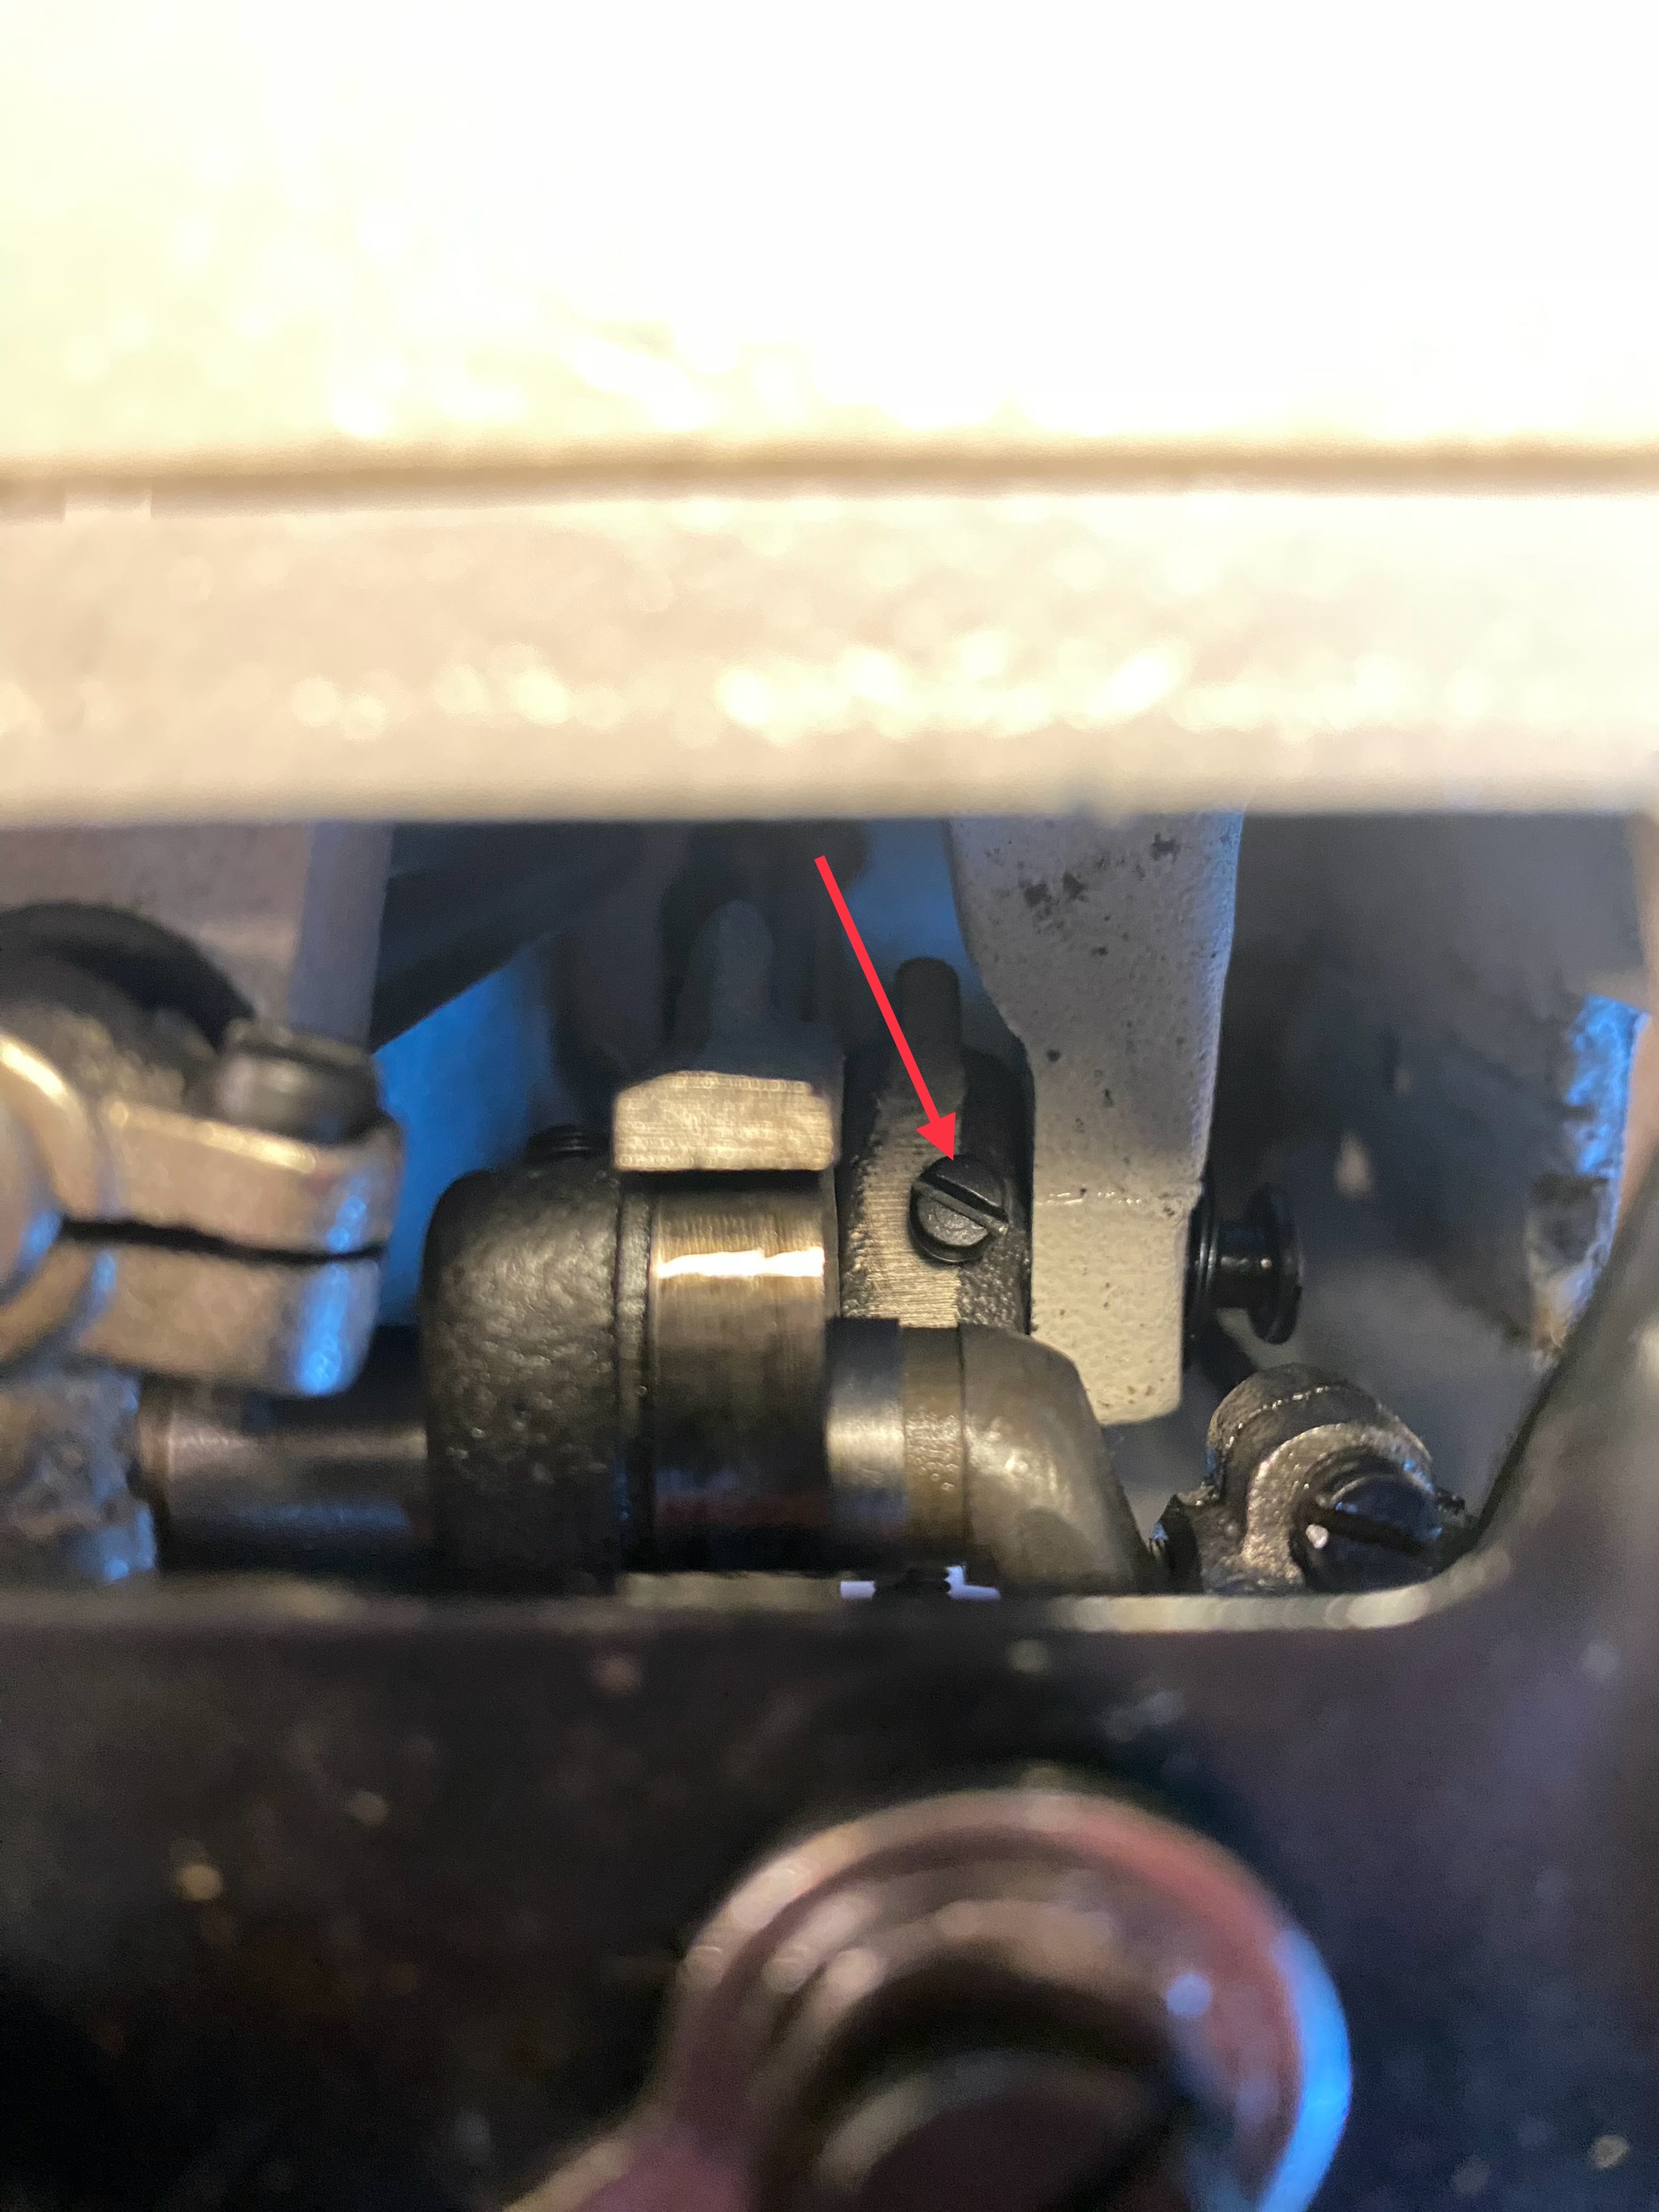
Loosen the feed regulator screw
- Back out the feed regulator screw but do not remove it
- You do not need to fully unscrew this screw, it simply keeps the feed regulator pivot screw in place.
-
Remove the feed regulator pivot screw
- Unscew the feed refulator pivot scew
- Unscew the feed refulator pivot scew
-
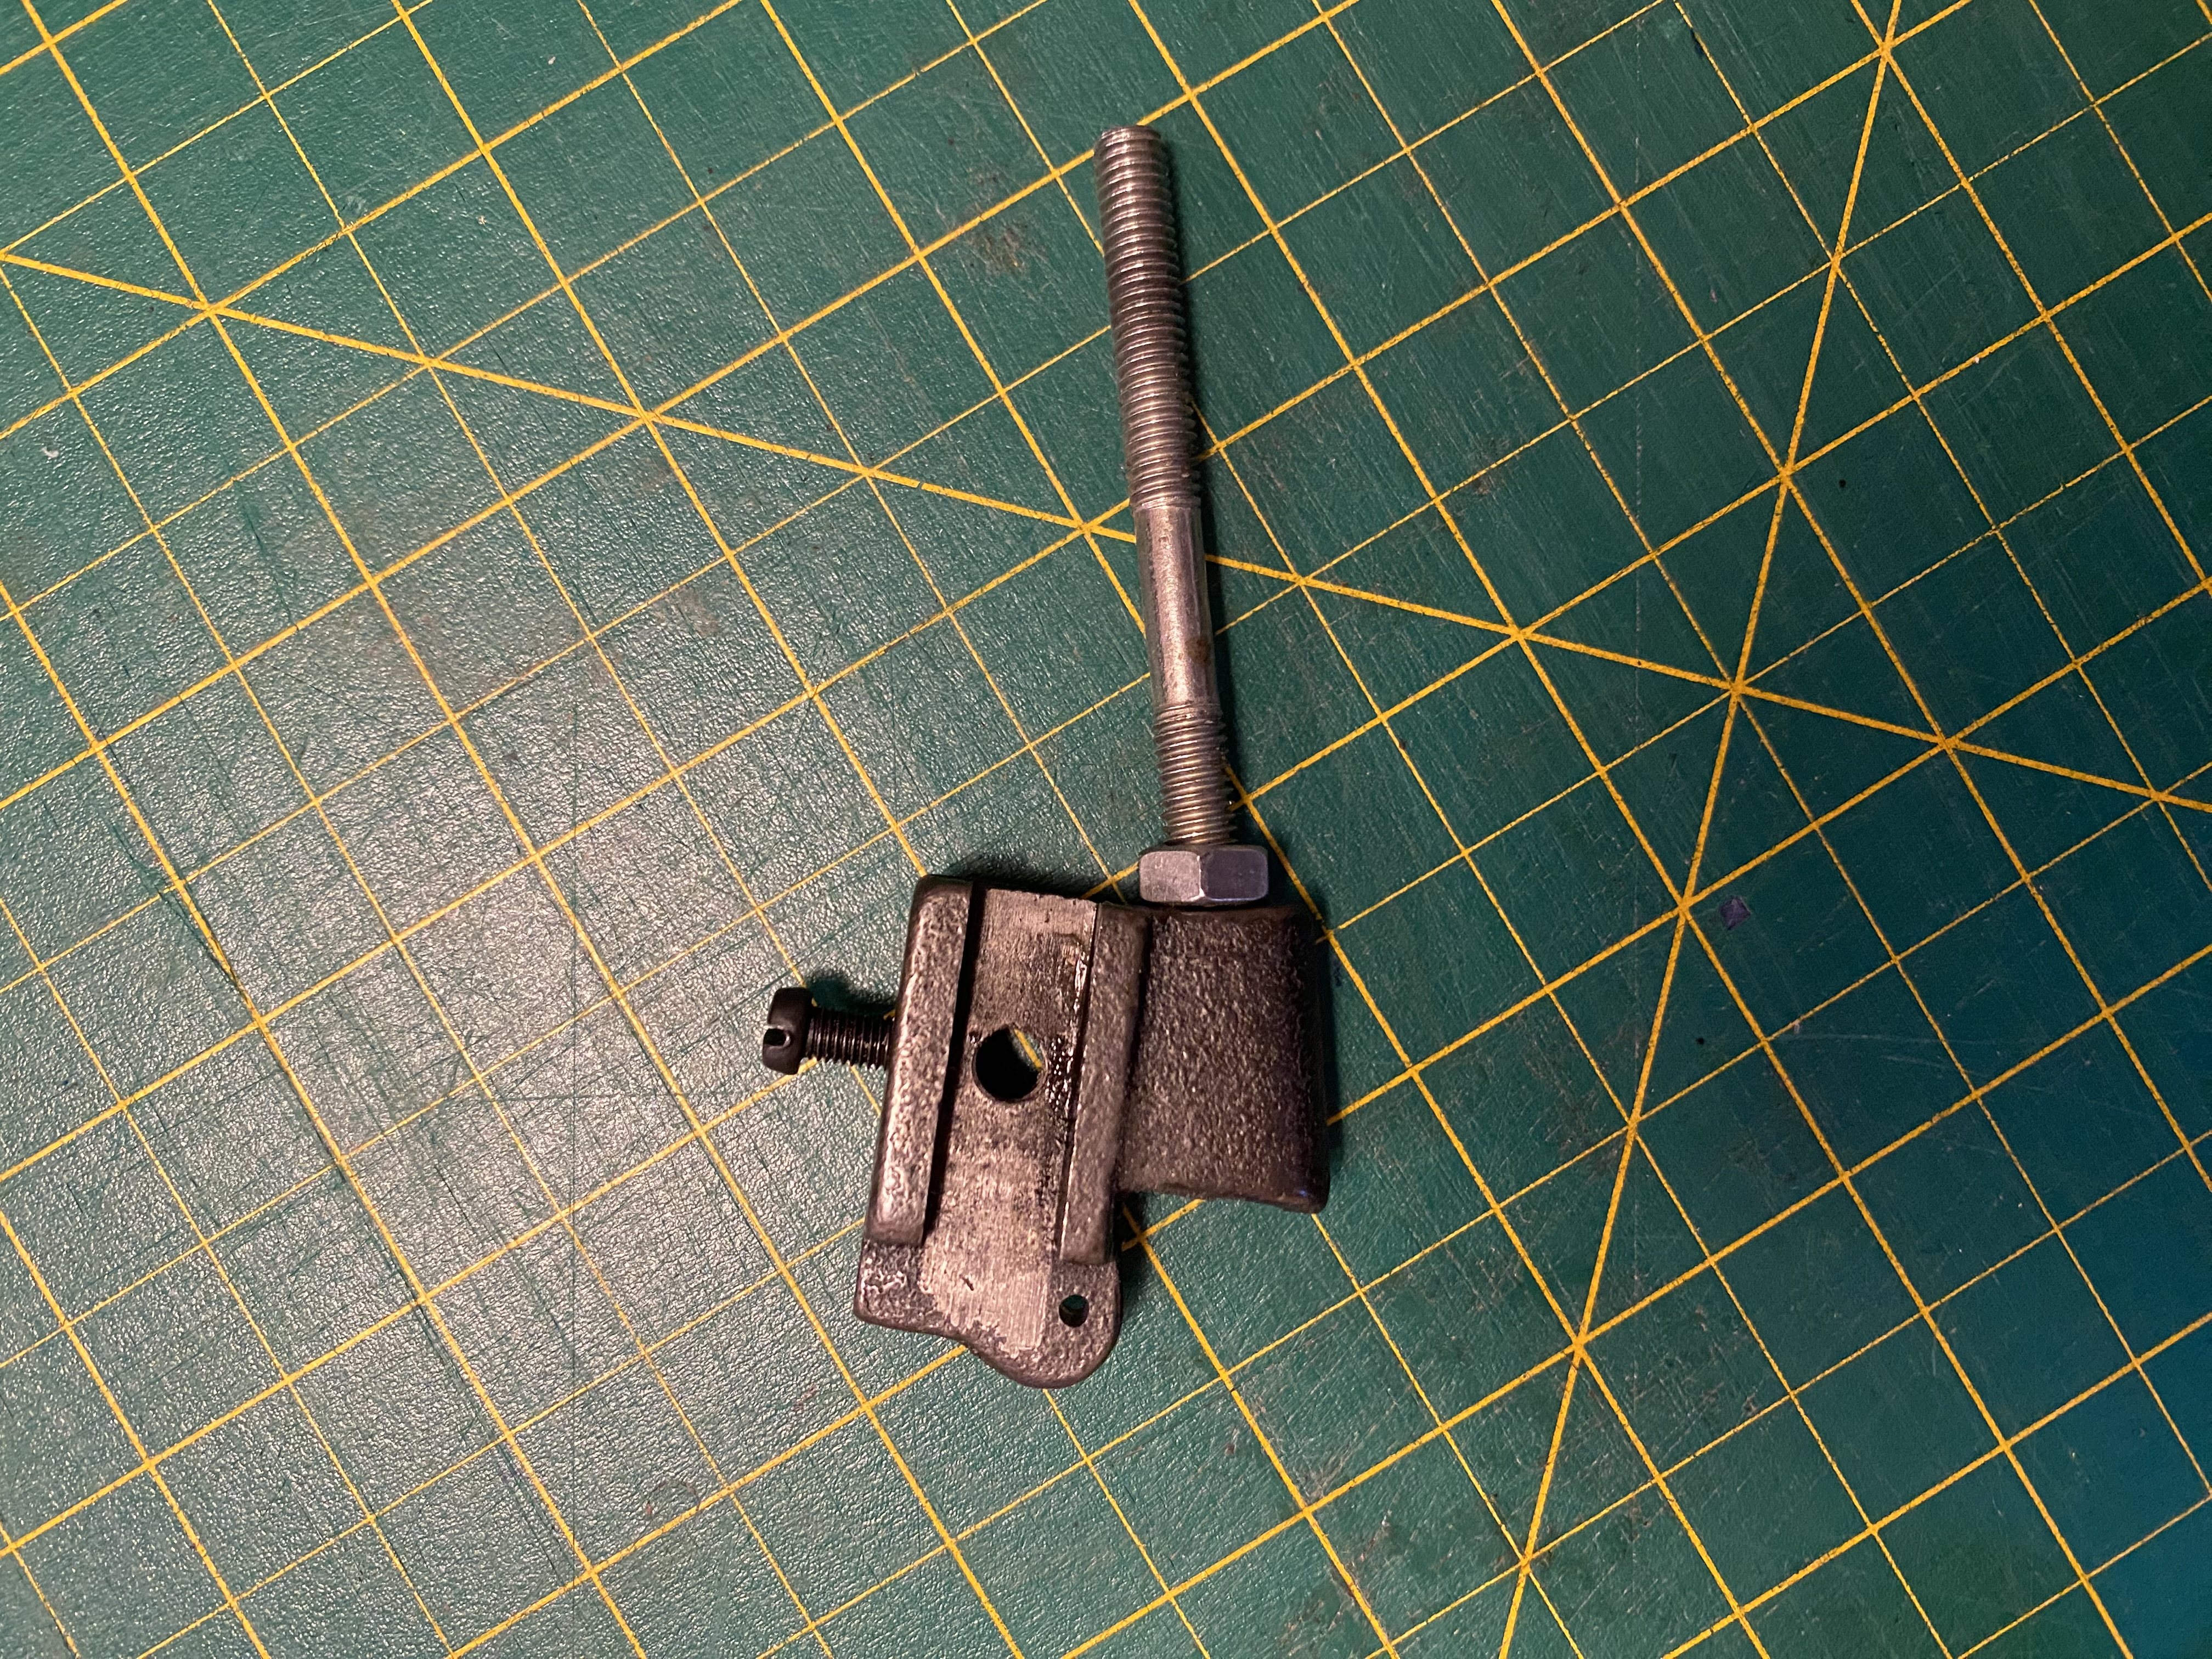
Remove the feed regulator
- The feed regulator is connected to the feed connection slide block, pointing it down will make it slide right off
- The feed regulator is connected to the feed connection slide block, pointing it down will make it slide right off
-
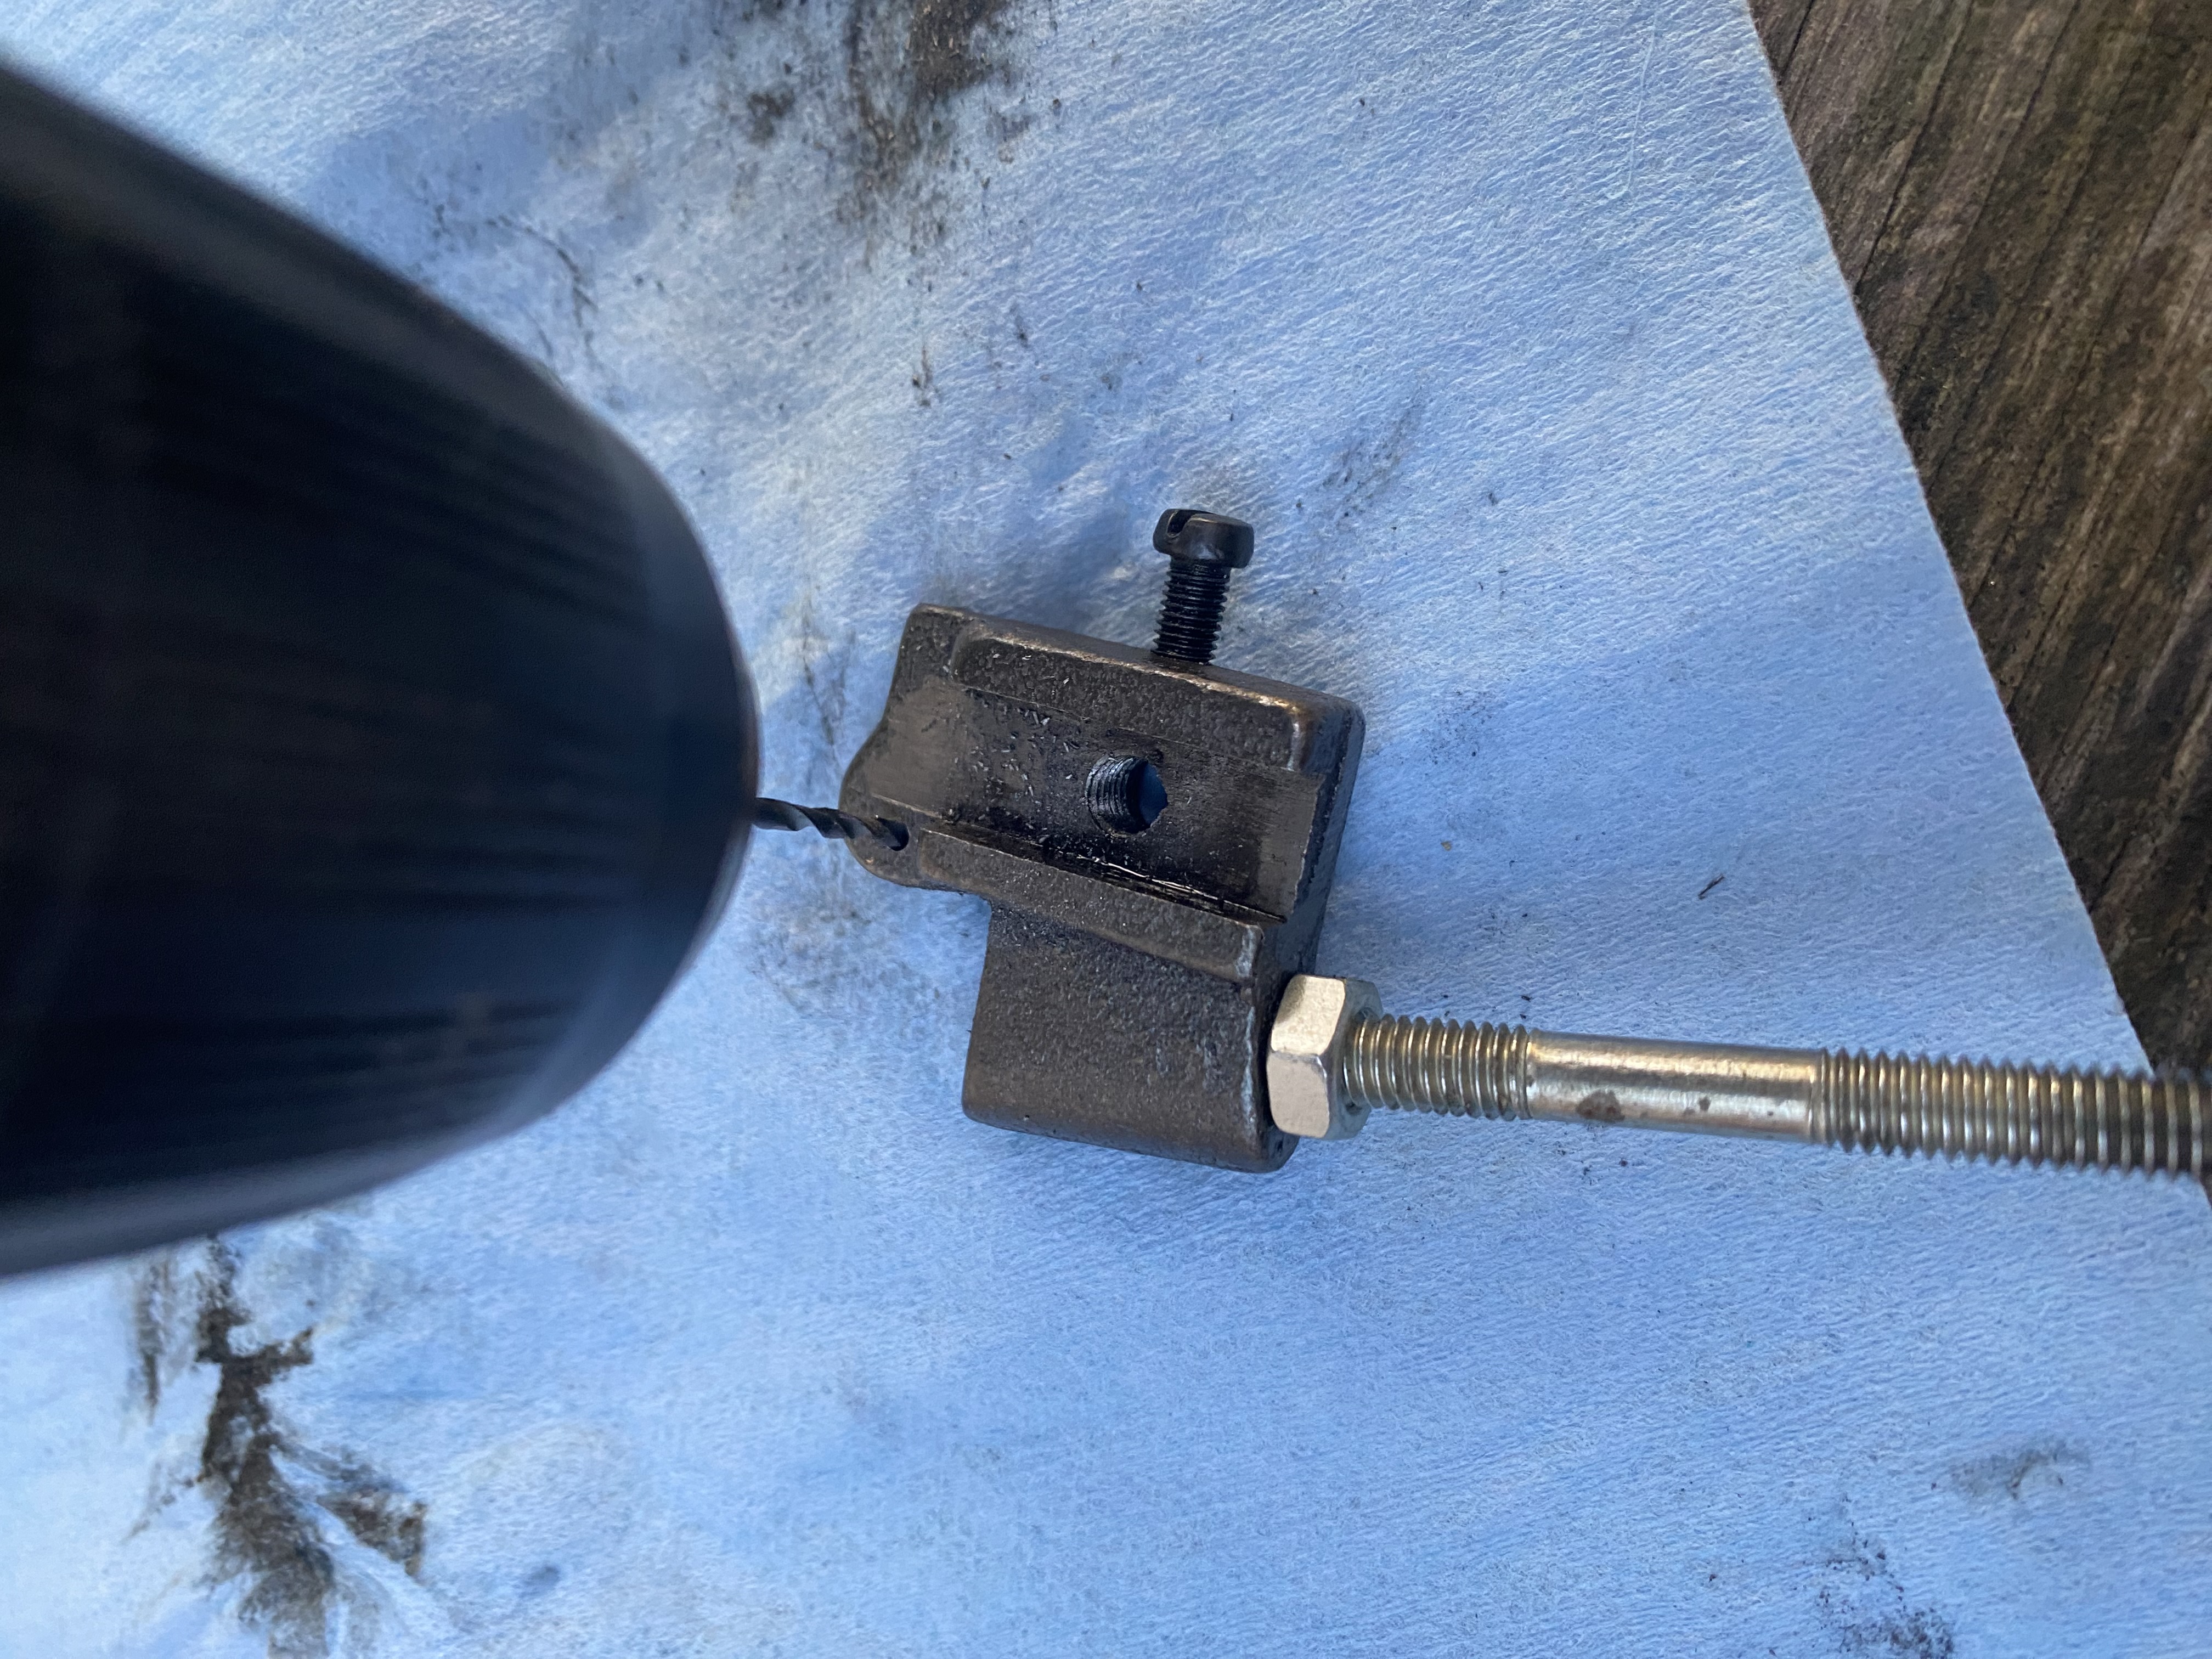
Drill a small hole in the lower section of the feed regulator
- Careful to place the hole in the right spot, the metal is fairly soft so it's easy enough to drill through.
- Careful to place the hole in the right spot, the metal is fairly soft so it's easy enough to drill through.
-
Install one end of the spring into the feed regulator
- The spring is still full length at this point, it's easier to install it full length and cut it shorter afterwards
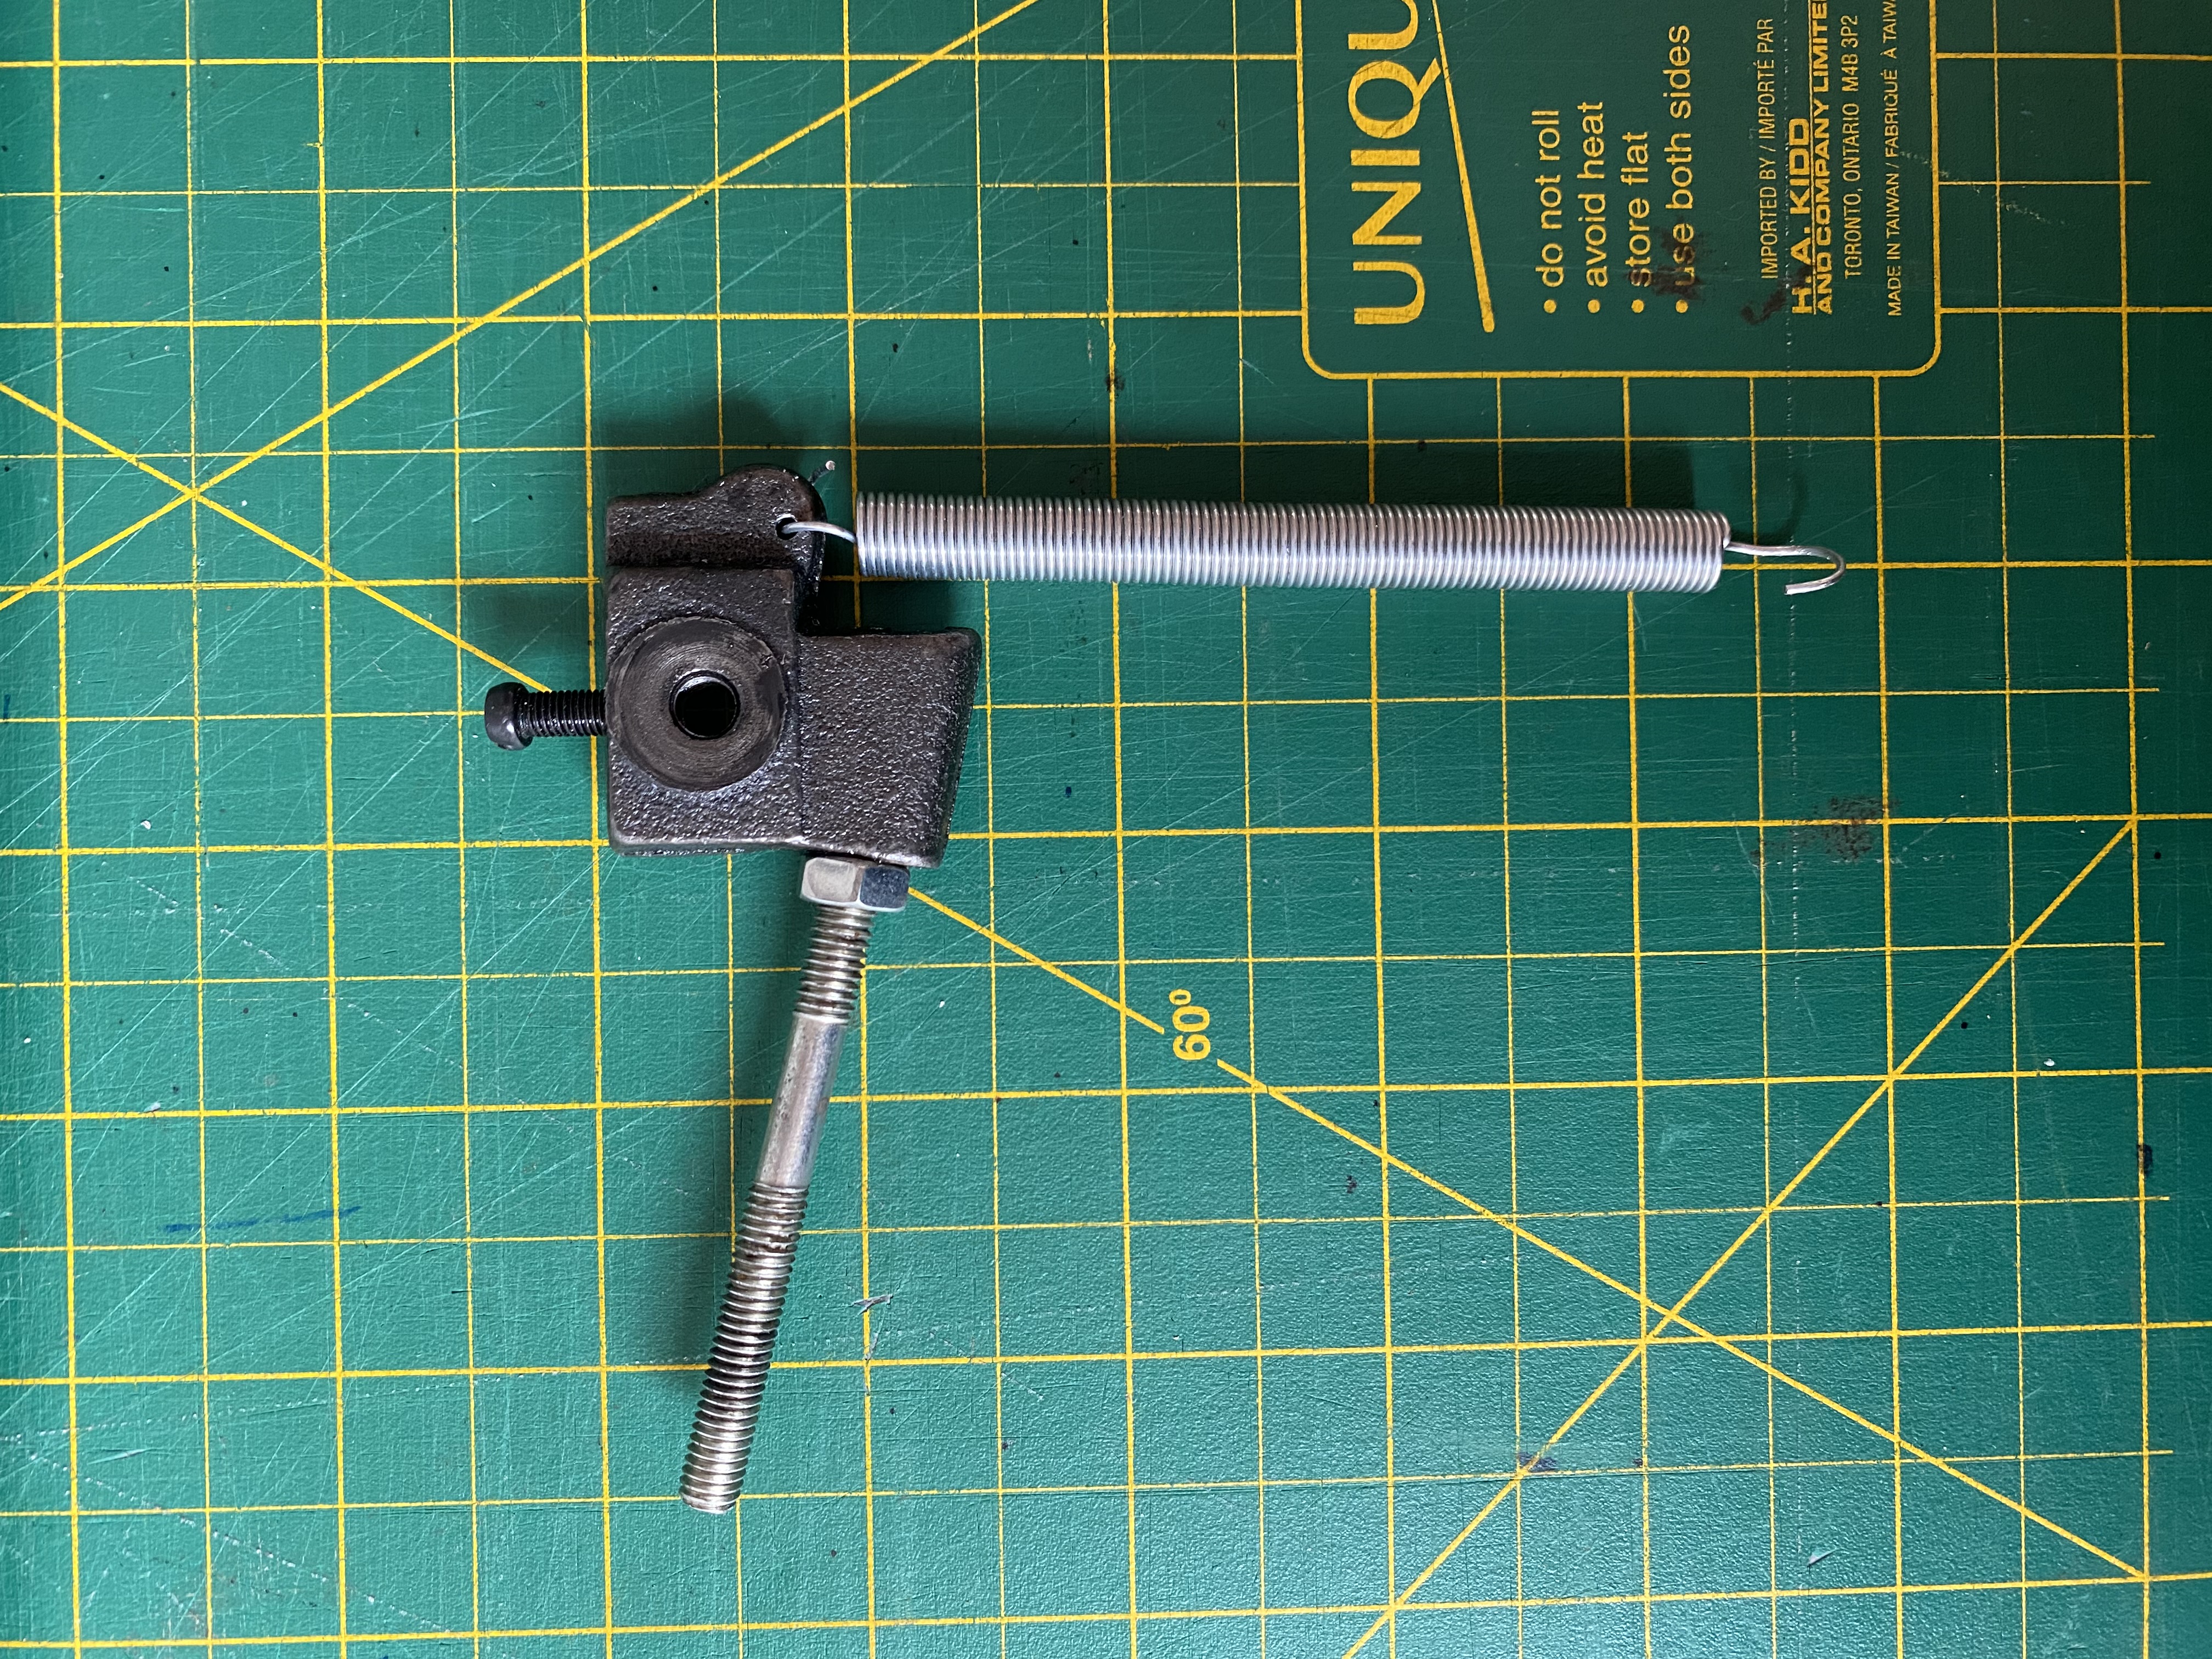
- The spring is still full length at this point, it's easier to install it full length and cut it shorter afterwards
-
Reinstall all the pieces in reverse order
- Keep the feed regulator pivot screw slightly loose, this will be adjusted to the proper tension once the spring is fully installed
-
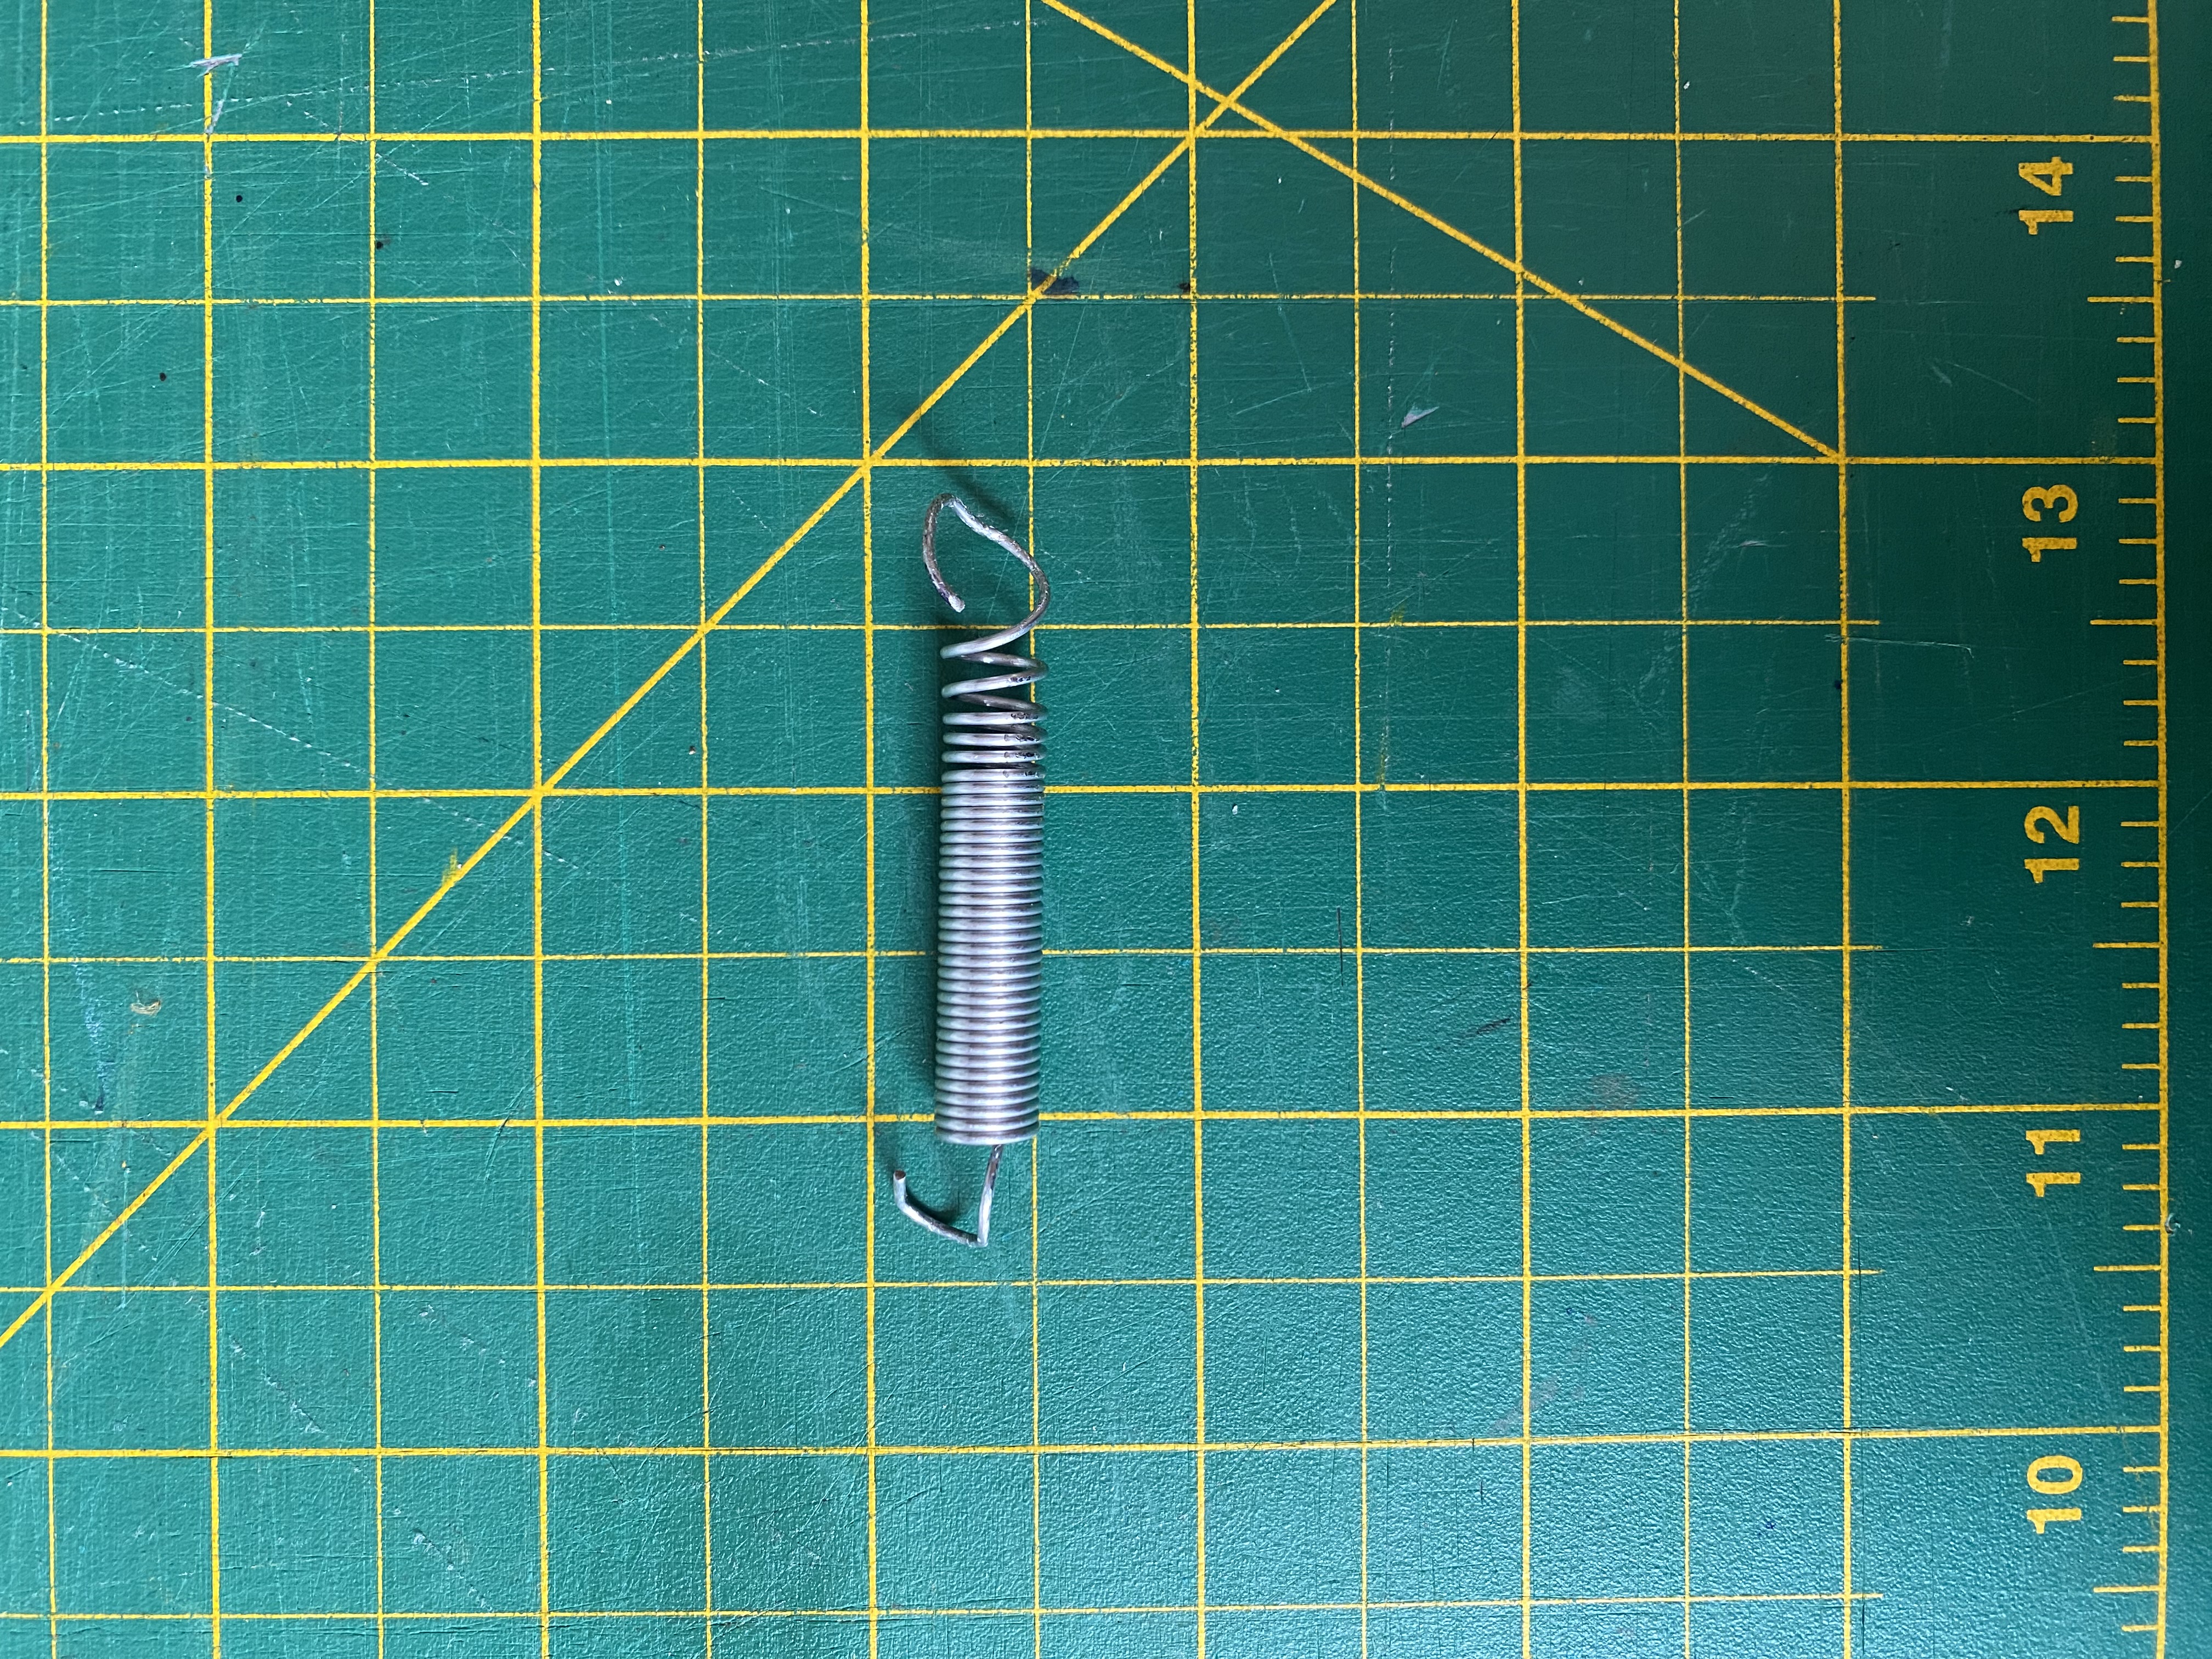
Cut spring to length
- In order to get the right tension pull the spring to where the feed regulator is capable of spring back up on it's own
- I cut it to about 50mm
-
Install the second end of the feed regulator spring into the bottom hole of the machine

-
Tighten the feed regulator pivot screw
- Get it is just tight enough to not be loose but allow the spring to pull the lever in the upwards position.